The above photo was the inspiration for my project. It originated from Addicted 2 Decorating. I repinned someone elses pin, from a blog feature on Classy Clutter. Wow, you could totally play "seven degrees of Pinterest". Back to the challenge...
The week before the challenge was issued I had begun a little dining room makeover and was contemplating repainting this cabinet.
The room was getting a new coat of paint and going from Valspar City Storm to Benjamin Moore's Gray Owl. You can see the City Storm color in the above shot and will see Gray Owl in the room in photos below. I began to think about the turquoise piano I pinned 6 weeks ago and a lightbulb went off that I did not have to have a piano to recreate the look but could do it with my red cabinet. I was not sure exactly what color was used on the piano so in the end I custom blended my own turquoise color.
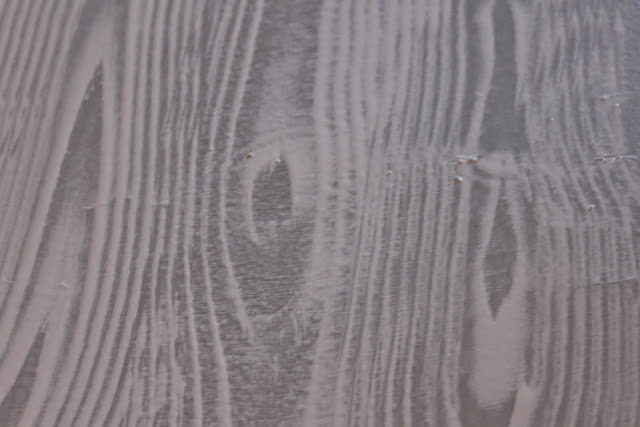
After I got the color just right, I painted the outside the teal/turquoise and the inside black. I then worked on the back panel that I did a faux bois treatment on. Get more detailed information about how I custom mixed the color, what colors I used and how I did the faux bois here.
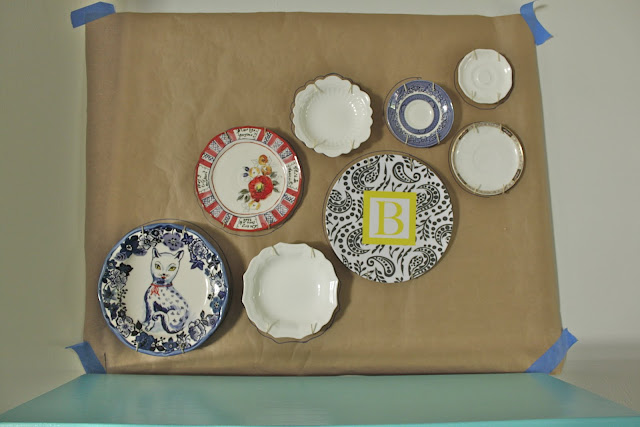
While waiting for the paint to dry I began to work on the plate part. First I laid out the plates to get an idea of what I wanted. For more detailed information about the hanging plate part, click here.
I planned to hang up the pattern above the cabinet to make sure that I liked the placement.
This is probably the third pattern I made. I lived with it for a day taped to the wall above the cabinet before I began hanging plates. I am so glad I did this step because they really looked different on the wall. I used much bigger plates that the inspiration photo which is good and bad.
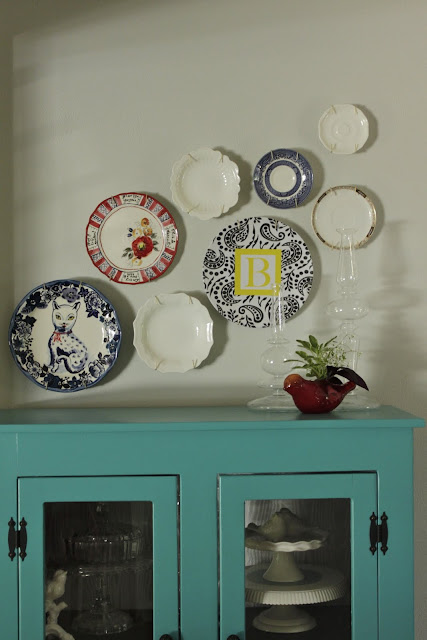
Next came plate hanging hooks {came with the plate hangers}. The whole plate hanger part of this is a whole other issue/story for another time. If you want to know more about it, click here for details. Anyway, I hung the hooks and then placed the plates up.
Then it was time for the paper to come down!
Back up the plates went!
I had been playing with different accessories for the top of the cabinet and decided to go with these CB2 vase/candle holders I have had for several years. I also have white Zgallerie pillar candle sticks that look good that could be a future option. I liked the lighter visual weight that the glass has since the plates are big.
Since living plants cannot survive in my home due to two furry inhabitants I just cut a few herbs and plants from the yard.
Please ignore the crazy long plate hangers! I am going to replace/snip them down. I really wanted to get the project done, so this had to do for the time being. For more information about the plate hangers I used, click here.
Now for a side by side comparison from the inspiration and my completed project!
There are a few changes I plan to make such as changing/modifying the plate hangers as I have already mentioned; adding or swapping plates; changing the wicker vase next to the cabinet; and maybe different knobs on the cabinet. I love the end result!


WOW, Looks great! Nice Job. Love the Aqua Color!!
ReplyDeleteI love it! I've been wanting to do a plate wall and now I might just have to! And the color of the cabinet is great! Thanks for sharing.
ReplyDeleteLinda :o)
This looks awesome, I love it!!! Wonderful color, too :)
ReplyDeleteFound you through YHL!
LOVE the colors. can you come to my kitchen next?! ;)
ReplyDeletemolly
threesisterz.blogspot.com
It looks fabulous!! I just love that teal color and it looks perfect against the grey wall.
ReplyDelete(found your post through YHL too)
I LOVE this! Great job!
ReplyDeleteI like how you used the inspiration photo and transferred that idea to suit your own home. Nice!
ReplyDeleteBeautiful interpretation of the pin! I want one!
ReplyDeleteUmmmm....LOVE!! This is really amazing, and I love how you simply used my photo as an inspiration but completely reinterpreted it, rather than copying it directly. Great job! And you did such a good job on matching the paint color, too! Thanks so much for sharing this.
ReplyDeleteKristi!!!! Thanks for visiting my blog and thanks again for inspiring my project!!!!!!!
ReplyDeleteThis is gorgeous! You did a great job. And I LOVE that you have an entire cabinet devoted to cake stands.
ReplyDeleteLOVE! Great interpretation.
ReplyDeleteActually I love yours so much more!It gives a less contrived feeling, as if the space was just waiting for the marriage of the cabinet and the plates to come together!
ReplyDeletewhere did you buy the original cabinet?
ReplyDeleteI purchased it from a local antique store. It was around $40, but definitely not antique or vintage.
Delete